Table of Contents
Introduction to Time-Lapse Photography
What is Exposure and White Balance in Time-Lapse Photography?
How to Adjust Exposure on a Time-Lapse Camera
How to Adjust White Balance on a Time-Lapse Camera
Using Farpov Cam for Time-Lapse Photography
Tips for Perfect Exposure and White Balance in Time-Lapse Photography
Conclusion
Frequently Asked Questions
Introduction to Time-Lapse Photography
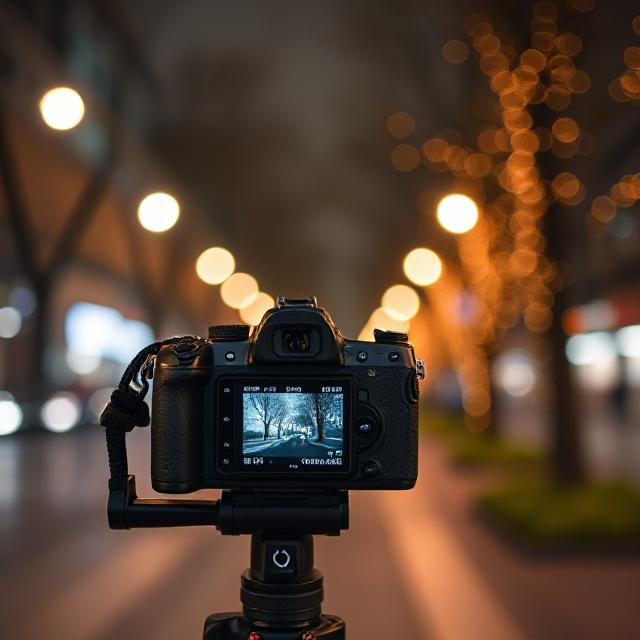
Time-lapse photography is a unique technique that allows you to capture changes over extended periods, showing the passage of time in a condensed format. This technique is used in everything from nature shots to urban environments, offering a creative way to showcase the world’s transformation in just a few seconds or minutes of video.
When creating time-lapse videos, one of the most important factors for achieving professional-quality results is understanding how to adjust key camera settings such as exposure and white balance. These settings have a major impact on the overall look and feel of your footage, so getting them right is crucial.
In this guide, we’ll walk you through how to adjust exposure and white balance on a time-lapse camera, and we’ll also introduce how you can use the Farpov Cam to enhance your time-lapse photography experience.
What is Exposure and White Balance in Time-Lapse Photography?
Before we dive into the how-to section, it’s important to understand the concepts of exposure and white balance, as they are central to capturing stunning time-lapse footage.
Exposure
Exposure refers to the amount of light that reaches your camera’s sensor. It’s controlled by three main factors: aperture, shutter speed, and ISO. In time-lapse photography, exposure settings are particularly important because they can affect the lighting, depth of field, and motion blur in your shots.
Aperture controls the amount of light entering the camera and the depth of field.
Shutter Speed determines how long the camera’s sensor is exposed to light.
ISO controls the camera’s sensitivity to light.
White Balance
White balance is the process of adjusting the colors in your images to ensure that whites appear truly white under different lighting conditions. In time-lapse photography, maintaining proper white balance ensures that the colors in your footage are accurate and consistent, which is crucial when shooting scenes that span multiple hours or even days.
If the white balance is off, your time-lapse footage may appear too warm (yellow/orange) or too cool (blue), which can make your video look unnatural.
How to Adjust Exposure on a Time-Lapse Camera
When shooting time-lapse photography, exposure is one of the first settings you’ll want to adjust to get the right look for your footage. Here’s how you can adjust exposure on your time-lapse camera:
1. Choose the Right Shutter Speed
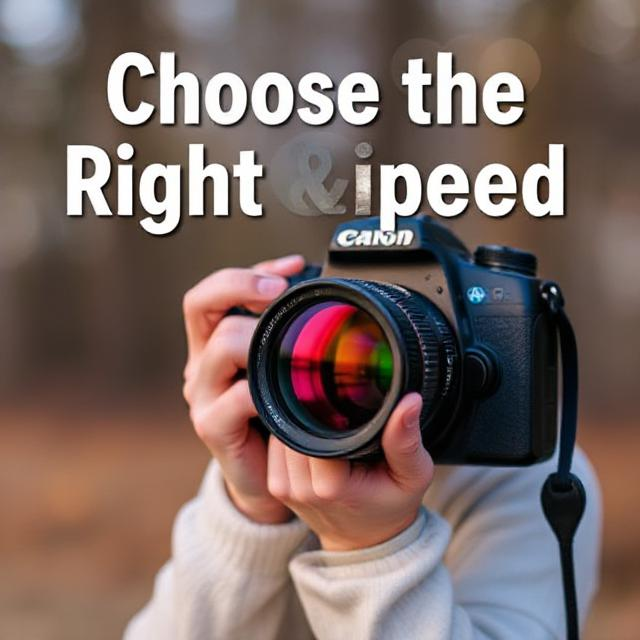
Shutter speed controls how long the camera’s sensor is exposed to light. For time-lapse, you typically want to use a slower shutter speed to capture more light, especially in low-light environments.
2. Adjust the Aperture
The aperture controls the amount of light entering your camera. If you’re shooting in bright daylight, you may want to close the aperture (use a higher f-stop number, like f/16 or f/22) to prevent overexposure. For low-light conditions, a wider aperture (lower f-stop like f/2.8 or f/4) will help capture more light.
3. Set the ISO Sensitivity
ISO determines how sensitive your camera is to light. In bright conditions, you can use a low ISO, such as ISO 100 or 200, to avoid overexposure. In low-light conditions, you may need to raise the ISO to capture enough light, but keep in mind that higher ISO values can introduce noise (graininess) to your images.
4. Use Exposure Compensation (Optional)
If your time-lapse camera has an exposure compensation feature, you can use it to fine-tune your exposure settings. This is especially helpful if the automatic settings are too bright or too dark. Adjusting exposure compensation allows you to either increase or decrease the exposure without changing the other settings.
Maintaining consistent white balance is crucial for time-lapse photography to prevent color shifts as lighting changes over time. Here's how to adjust white balance for the best results:
1. Set White Balance to Auto (AWB) for General Use
Most time-lapse cameras, including the Farpov Cam, allow you to set the white balance to automatic (AWB), which adjusts the colors based on the lighting conditions. This setting works well in most scenarios, especially when shooting during the day.
2. Use Preset White Balance Settings for Specific Lighting Conditions
If you’re shooting in specific lighting conditions (e.g., sunset or incandescent lighting), it’s better to manually set the white balance to a preset, such as “Daylight,” “Tungsten,” or “Fluorescent,” to ensure accurate color reproduction.
Daylight: Ideal for outdoor shots in natural sunlight.
Tungsten: Best for indoor shots with incandescent lighting, as it reduces the warm yellow tones.
Fluorescent: Use for shots taken under fluorescent lighting to avoid a greenish tint.
3. Manually Adjust White Balance for Custom Settings
For the most precise control over the white balance, you can manually set the color temperature (measured in Kelvin). Lower values (around 2800K) produce warmer tones, while higher values (around 6500K) produce cooler tones. For example, if you’re shooting a time-lapse of a sunset, you might choose a color temperature of around 5000K.
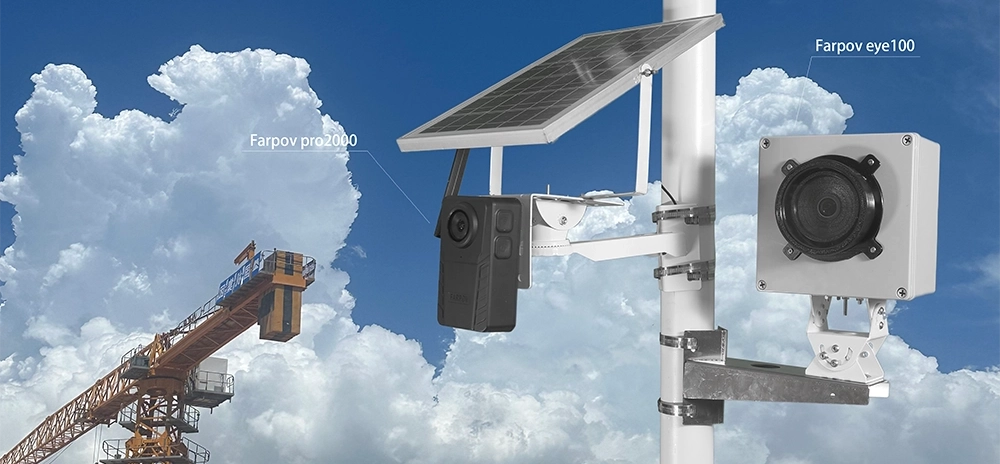
Using Farpov Cam for Time-Lapse Photography
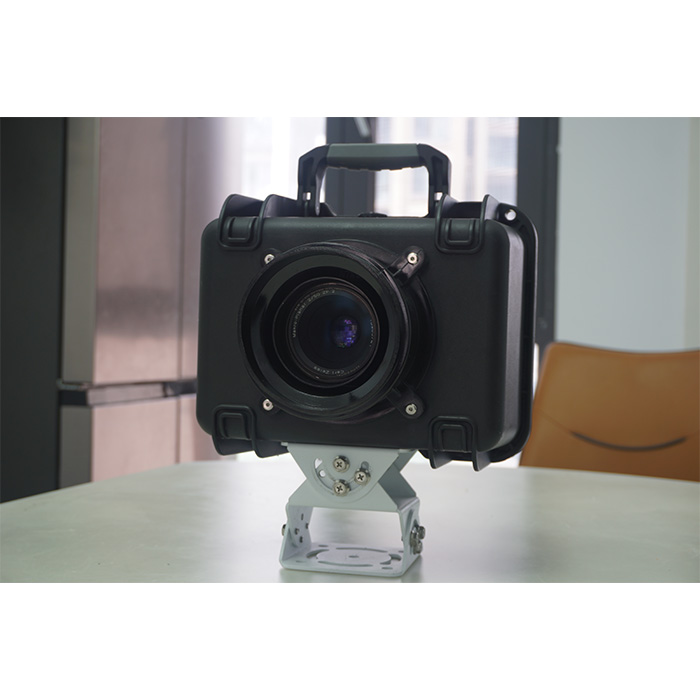
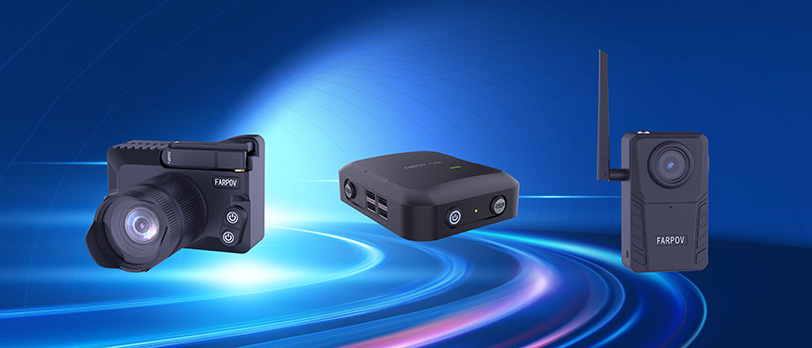
The Farpov Cam is a time-lapse photography controller that works seamlessly with SLR and mirrorless cameras. It offers several features that can enhance your time-lapse projects, including exposure and white balance adjustments.
Features of Farpov Cam:
Automatic Camera Control: Farpov Cam allows your camera to turn on and off automatically, taking photos at preset intervals.
Cloud Storage: Photos can be stored in the cloud, making it easy to access your time-lapse sequences from anywhere.
Shooting Parameter Settings: You can adjust settings like exposure and white balance directly through the Farpov app.
Connectivity: Supports Wi-Fi, 4G, and Bluetooth for remote control and easy access.
By using the Farpov Cam, you can set your camera to take consistent, high-quality time-lapse photos with precise control over exposure and white balance settings, ensuring that your footage remains stable and visually appealing throughout the shoot.
Tips for Perfect Exposure and White Balance in Time-Lapse Photography
Achieving the perfect exposure and white balance requires a little practice and planning. Here are some tips to help you get the best results:
1. Shoot During Golden Hours
Shooting during the early morning or late afternoon, also known as the golden hours, gives you soft, warm lighting that’s perfect for time-lapse photography. This minimizes harsh shadows and overexposed highlights.
2. Check Your Settings Regularly
Lighting conditions can change quickly, especially if you're shooting outdoors. Make sure to regularly check and adjust your exposure and white balance settings to maintain consistency.
3. Use ND Filters for Long Exposure
If you’re shooting during the day and need a slower shutter speed, consider using a neutral density (ND) filter. This reduces the amount of light entering the lens and allows you to capture smoother motion without overexposing your shots.
Conclusion
Adjusting exposure and white balance on a time-lapse camera is essential for achieving professional-quality footage. By understanding the impact of each setting, you can ensure that your time-lapse videos are both visually stunning and technically sound. The Farpov Cam is an excellent tool for controlling these settings remotely, making your time-lapse photography more efficient and creative.
Frequently Asked Questions
Q1: How do I ensure consistent exposure throughout my time-lapse shoot?
A1: Use manual exposure settings and avoid using auto mode. Lock in the aperture, shutter speed, and ISO to prevent exposure changes during your shoot.
Q2: Can I use the Farpov Cam for night-time time-lapse photography?
A2: Yes, the Farpov Cam works
well for night-time time-lapse photography. Ensure you adjust the exposure settings (such as aperture and shutter speed) to capture enough light in dark environments.
Q3: How can I avoid color shifts in my time-lapse footage?
A3: Set a fixed white balance, either through the camera’s presets or by manually adjusting the color temperature, to prevent automatic adjustments that can cause color shifts during long shoots.
Table: Average Time-Lapse Photography Settings
| Setting | Daylight | Night-time | Sunset/Sunrise |
|---|
| Shutter Speed | 1/1000 - 1/500 | 1/60 - 1/30 | 1/250 - 1/100 |
| Aperture | f/8 - f/22 | f/2.8 - f/5.6 | f/8 - f/16 |
| ISO | 100 - 400 | 800 - 1600 | 200 - 800 |
| White Balance | Auto | Tungsten or Manual | Daylight |


 WeChat
 WhatsAPP